 Plumbing Advisors Editorial TeamEditorial StandardsUpdated April 27, 2026Source-Checked
Replacing the pipes throughout a home sounds daunting, but the work follows a fairly predictable sequence, and knowing the stages ahead of time takes much of the mystery out of it. A repipe is a planned, methodical project rather than a chaotic teardown, and a good crew works to protect your home and keep you informed along the way. Understanding what happens at each step helps you prepare your household, ask the right questions, and know what a smooth project should look like from the first inspection to the final coat of paint.
Inspection and Planning
Every repipe starts with a professional assessing your existing plumbing and mapping out the work. The plumber identifies your current pipe material, locates the supply lines, and determines the best routes for the new pipe with the fewest, smallest access points. This is also when the material is confirmed, the scope is agreed on, and any required permits are arranged so the work can be inspected. A clear plan at this stage is what keeps the rest of the project orderly, so it is worth asking questions and making sure you understand what will be done before anyone opens a wall.
The Work Itself
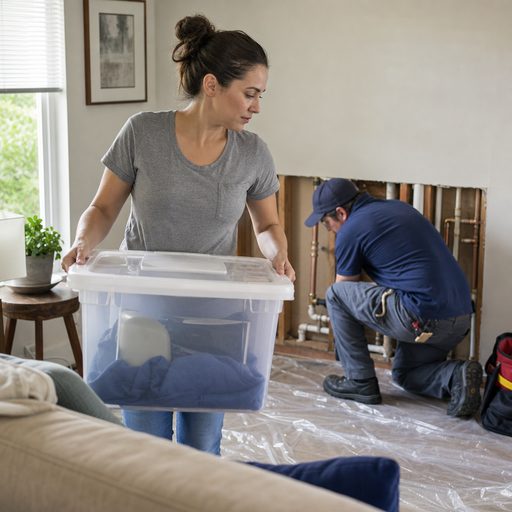
With a plan in place, the crew prepares your home and begins replacing the lines. Expect the work to move through the stages below. A professional crew covers floors and furnishings, works section by section, and aims to keep your water on as much as possible, shutting it off only for the cutovers that require it.
- Protecting the home by covering floors, furniture, and belongings with sheeting and drop cloths.
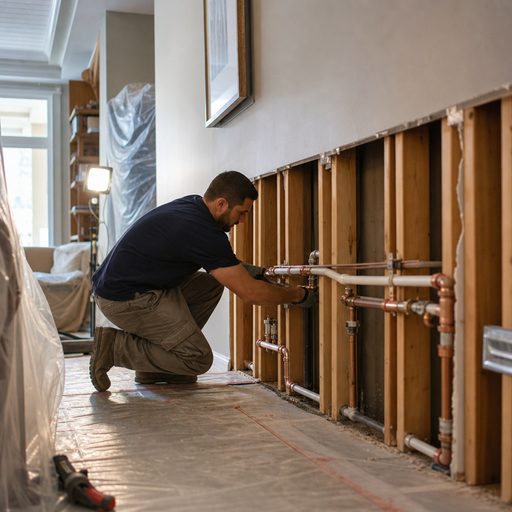
- Opening small, strategic access points in walls and ceilings to reach the existing pipes.
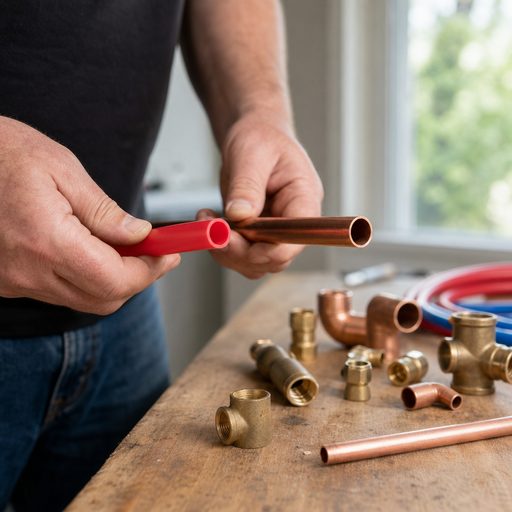
- Running the new supply lines and connecting them to fixtures, water heater, and the main.
- Cutting over from old pipe to new, which involves shutting the water off for a period.
- Pressure-testing the new system and arranging the required inspection to confirm it meets code.
- Patching the access points with drywall, texture, and paint to restore the walls and ceilings.
Confirm who handles the wall and finish repair
Repiping involves opening walls and ceilings, so before work begins, confirm exactly what restoration is included. Ask whether the crew patches, textures, and paints the access points or only closes the drywall, so there are no surprises about who finishes the job and brings your rooms back to normal.
After the Repipe
Once the new pipes pass inspection and the access points are repaired, the plumber restores full water service and walks through the home with you. Run the fixtures, check that pressure feels consistent, and confirm there are no drips at the new connections. It is normal to see a little cloudiness or air sputtering from taps right after a repipe as the lines clear, and that usually settles quickly. Keep your paperwork and any warranty information, and note where the new shutoffs are so you can find them easily in the future.
When to Call a Professional
A whole-house repipe is a job for licensed professionals, because it involves opening the structure, meeting local code, and passing inspection. Repiping services handle the project from inspection through new pipe and final restoration, while pipe repair is the right scope when only a section needs attention rather than the whole system. To plan around the disruption and set expectations for your household, see our guide on how long a repipe takes and how disruptive it is, and if you are still weighing materials before the work begins, our comparison of PEX versus copper for a repipe can help you decide.
Sources and further reading
These references support material safety, technical, consumer, or planning guidance in this article. Confirm property-specific requirements with the applicable authority and professional.