 Plumbing Advisors Editorial TeamEditorial StandardsUpdated May 25, 2026Source-Checked
If you have never watched a toilet get replaced, the process can seem more involved than it is. In reality, installing a toilet is a routine job with a clear sequence, and a professional usually completes a straightforward swap in a single visit. Knowing the steps ahead of time takes the mystery out of the appointment, helps you prepare the space, and makes it easier to follow what the plumber is doing and why. Here is what a typical toilet installation looks like from the moment the work begins to the final check that everything is sealed and solid.
Before the Work Begins
A good installation starts before anything is unbolted. The plumber will confirm the new toilet matches the rough-in and the connections in your bathroom, then turn off the water at the toilet's shutoff valve and flush to empty the tank and bowl. Clearing the path and giving the area a quick wipe-down ahead of the visit helps things move smoothly, since a toilet is heavy and awkward to carry through a tight house. This is also a good moment to point out anything you have noticed, such as a wobble, a past leak, or a soft spot in the floor, so the plumber can check for it while the old toilet is off.
Removing the Old Toilet
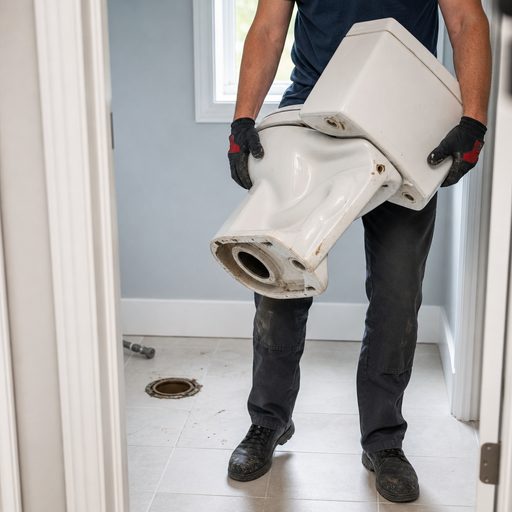
With the water off and the tank drained, the plumber disconnects the supply line, loosens the bolts holding the toilet to the floor, and lifts the old fixture away. Setting the old toilet aside exposes the closet flange and the old wax ring, which gives the plumber a clear look at the parts you never normally see. This is the point where any hidden problems come to light, such as a corroded or cracked flange, a damaged subfloor, or signs of an old leak. Addressing those before the new toilet goes down is what keeps the replacement from failing later.
Setting and Sealing the New Toilet
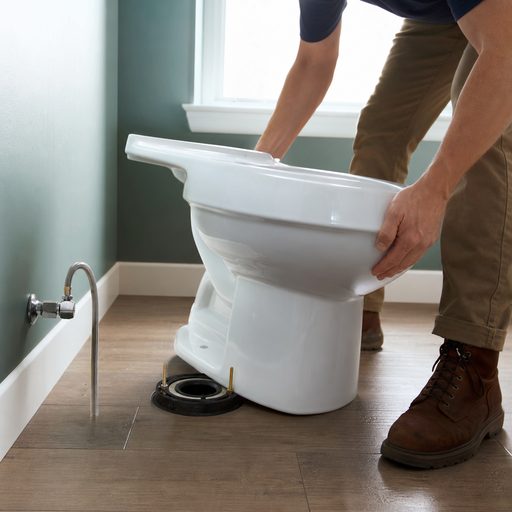
Once the area is clean and the flange is sound, the plumber fits a fresh wax ring, positions new closet bolts, and carefully lowers the new toilet straight down onto the seal. The toilet is then leveled and the bolts are tightened evenly and gently, just enough to hold it firm without overtightening, which can crack the porcelain. On a two-piece model the tank is bolted on, the supply line is reconnected, often with a new line, and the water is turned back on. The plumber then flushes the toilet several times to check that it fills, flushes strongly, and shows no water at the base or the connections before considering the job done.
Give the new seal a little time and a few test flushes
After an installation, run a few flushes and check around the base and the supply connection over the first day or two. A correctly set toilet should sit rock-solid with no rocking and stay dry underneath. If you ever notice a wobble or moisture at the base after the visit, mention it promptly so the plumber can reseat the fixture before any water reaches the subfloor.
When to Call a Professional
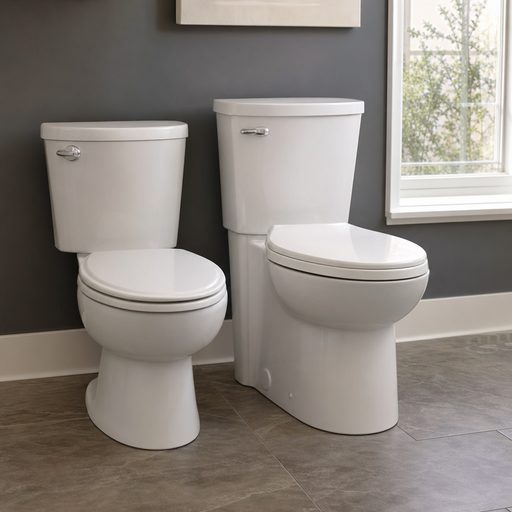
While a toilet swap looks simple, getting the seal, the level, and the bolt tension right is what separates a fixture that lasts from one that rocks or leaks, and a hidden flange or floor problem can turn a quick job into a bigger one. Toilet replacement service handles the whole sequence, from a clean removal to a properly sealed and level set, and can repair the flange or floor if needed. If the old toilet was only acting up rather than failing, toilet repair service can confirm whether a fix would have done the trick. To understand what happens to your old fixture once it comes off the floor, see our guide on how old toilets are removed and disposed of, and if you are still deciding on a model, our guide on how to choose a new toilet covers the choices that matter.
Sources and further reading
These references support material safety, technical, consumer, or planning guidance in this article. Confirm property-specific requirements with the applicable authority and professional.